Select the Patient
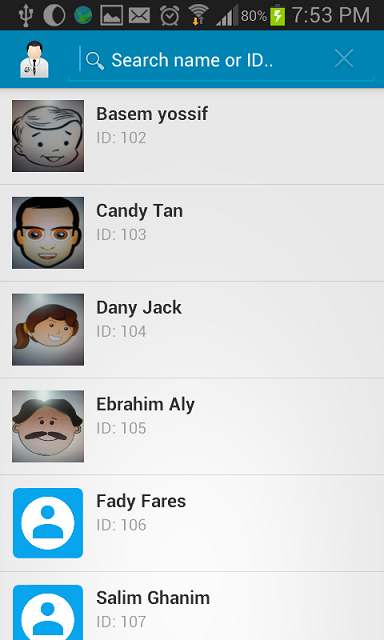
At the main screen, press on the search icon. enter the patient “ID” or name. the patient list will be filtered, press on the appropriate result.
The appointment allows you to store a medical appointment in the future. You can attend or not because of Personal circumstances. Different from the medical visit that the medical visit actually did The app should launch an event to alert you of the appointment.
At the main screen, press on the search icon. enter the patient “ID” or name. the patient list will be filtered, press on the appropriate result.
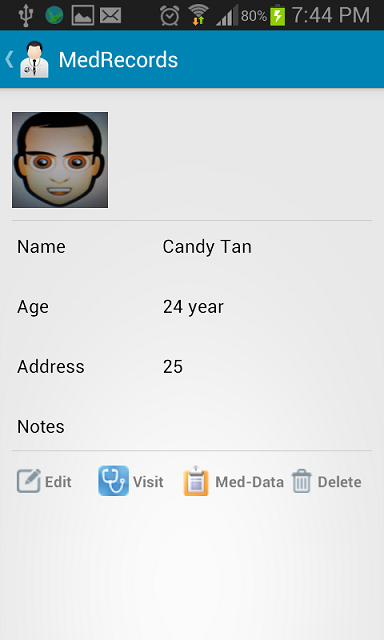
When you press on the selected patient, the app will display his/her information screen. You can notice the icons at the bottom of the screen.
Please tab the Med-Data icon.
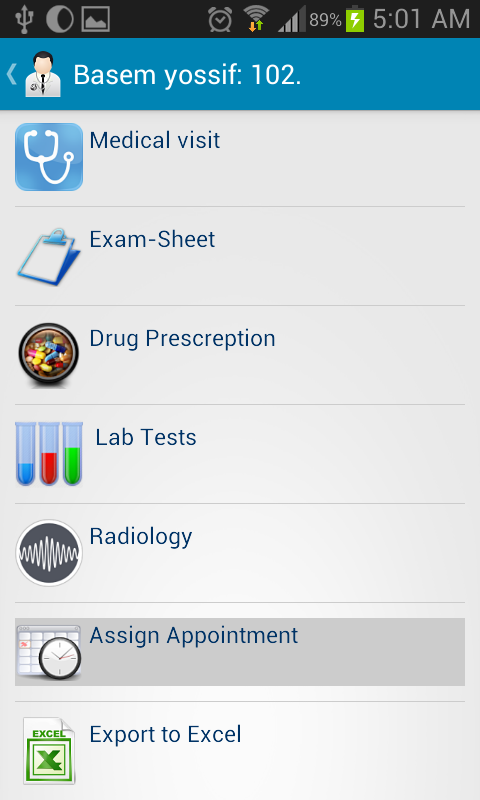
A new screen will be displayed, offering various medical activities. tab on “Assign Appointment”
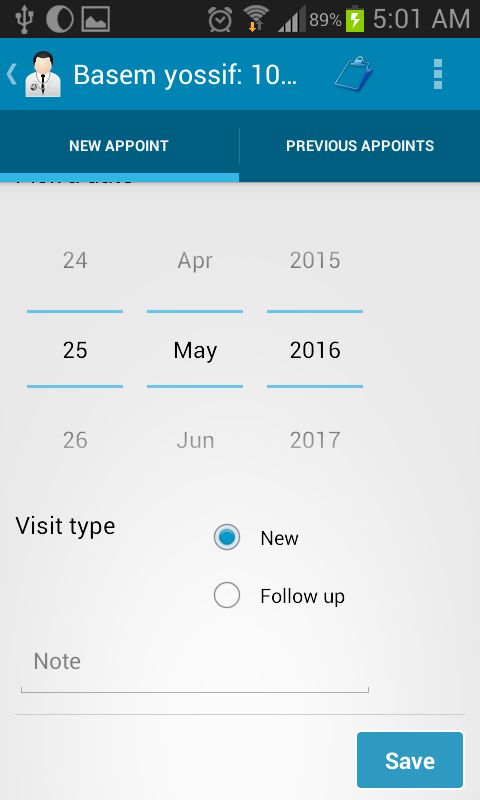
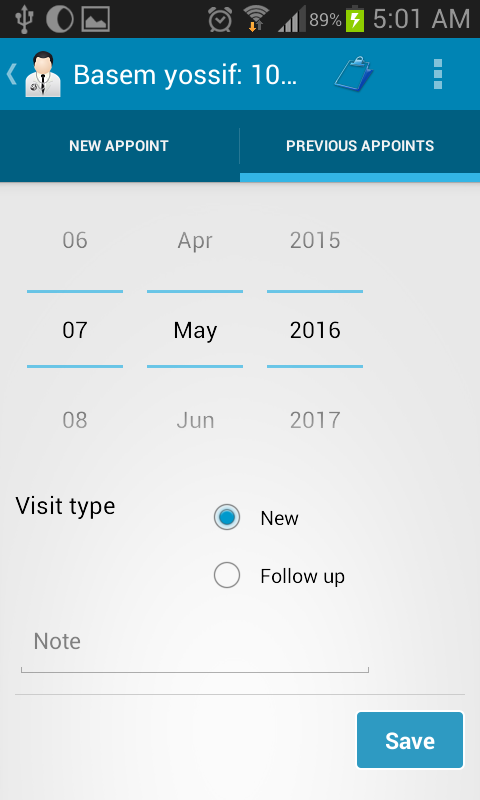
You can select the date of the appointment. Choose also the type of the medical visit either a new one of a follow up.
After that press on the Save button.
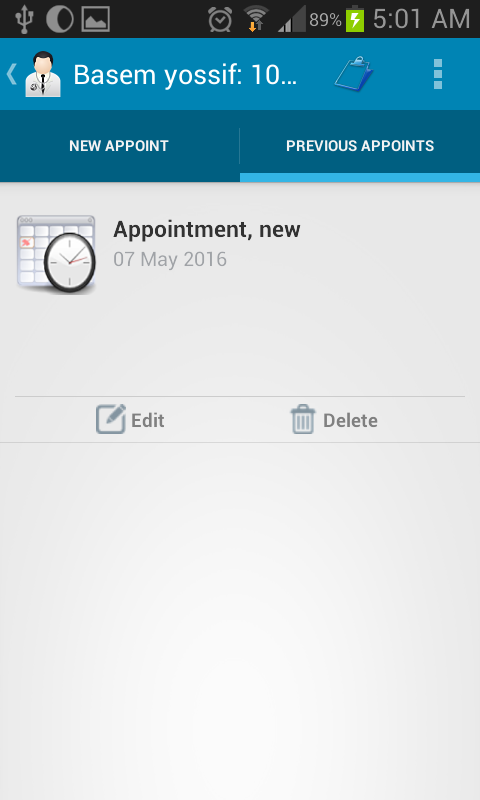
If you want to browse the previous appointments, just tab the
"PREVIOUS APPOINTMETS" tab at the top right of the screen.
If you want to modify the data of a certain appointment tab the Edit icon
If you want to Delete the data of a certain appointment tab the Delete icon
Modify the Appointment information then press the Save Button
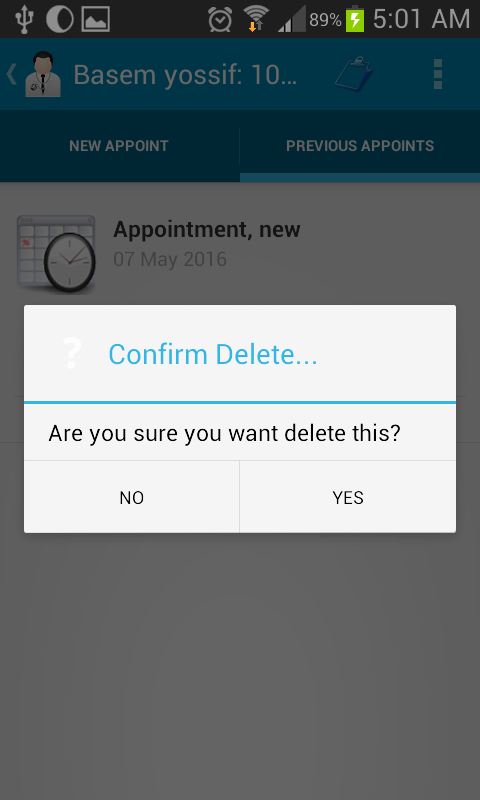
After tabbing the Delete icon a popup message will appear to get sure that you want to delete the
appointment. If you still want to delete the appointment then press on the YES button
Note that you will not be able to retrieve a deleted appointment.